Part 2: How I Made a Calendar to Sell and Ship Through GelatO
PART 1: The Art of Strategic Design: Working with Trends & Finding Your Underserved Niches
So you've done your research. You've found your niche or a trend that excites you. You've decided on a product. Now what?
FROM SKETCH TO SHOP: THE COMPLETE PRODUCT JOURNEY
In Part 1, I talked about why I designed a calendar. In this post, I'm walking you through how I actually made it, from initial sketches to uploading it to Gelato and setting it up for sale.🤓🌟
WHAT IS GELATO, ANYWAY?
Gelato is a dropshipping print-on-demand (POD) service that handles production and fulfillment for you. Unlike marketplace POD stores like Spoonflower or Society6, Gelato syncs directly with platforms like Etsy, Shopify, and Squarespace. This means you maintain your own branded storefront while Gelato handles all the printing and shipping behind the scenes. You design the art, set your price and markup, and they handle the rest. No inventory to manage, no shipping logistics. All you worry about is listings and customer service.
(There are other dropshipping platforms out there, too—Printify, Art of Where, Contrado, etc.—but I'm focusing on Gelato here.)
A note on testing: Normally, when launching any new product, it's wise to order test prints from multiple sources, especially when using dropshipping, as quality can vary. Quality, color matching, and tactile feel can vary significantly. For example, for stationery specifically, how does it feel to write on it with a pencil and pen? Does the ink dry quickly or smudge easily?
But in this instance, Gelato calendars come highly recommended by multiple professional artists I trust, so in this very rare case, I feel confident using Gelato for my calendar. That said, I still always order at least one test print before finalizing a product, especially for color matching. Plus, you’ll want at least one physical copy to take product photos of! (Having your own product photos makes a big difference! Don’t just use Gelato’s mockups!)
CHOOSING YOUR CALENDAR LAYOUT & DIMENSIONS
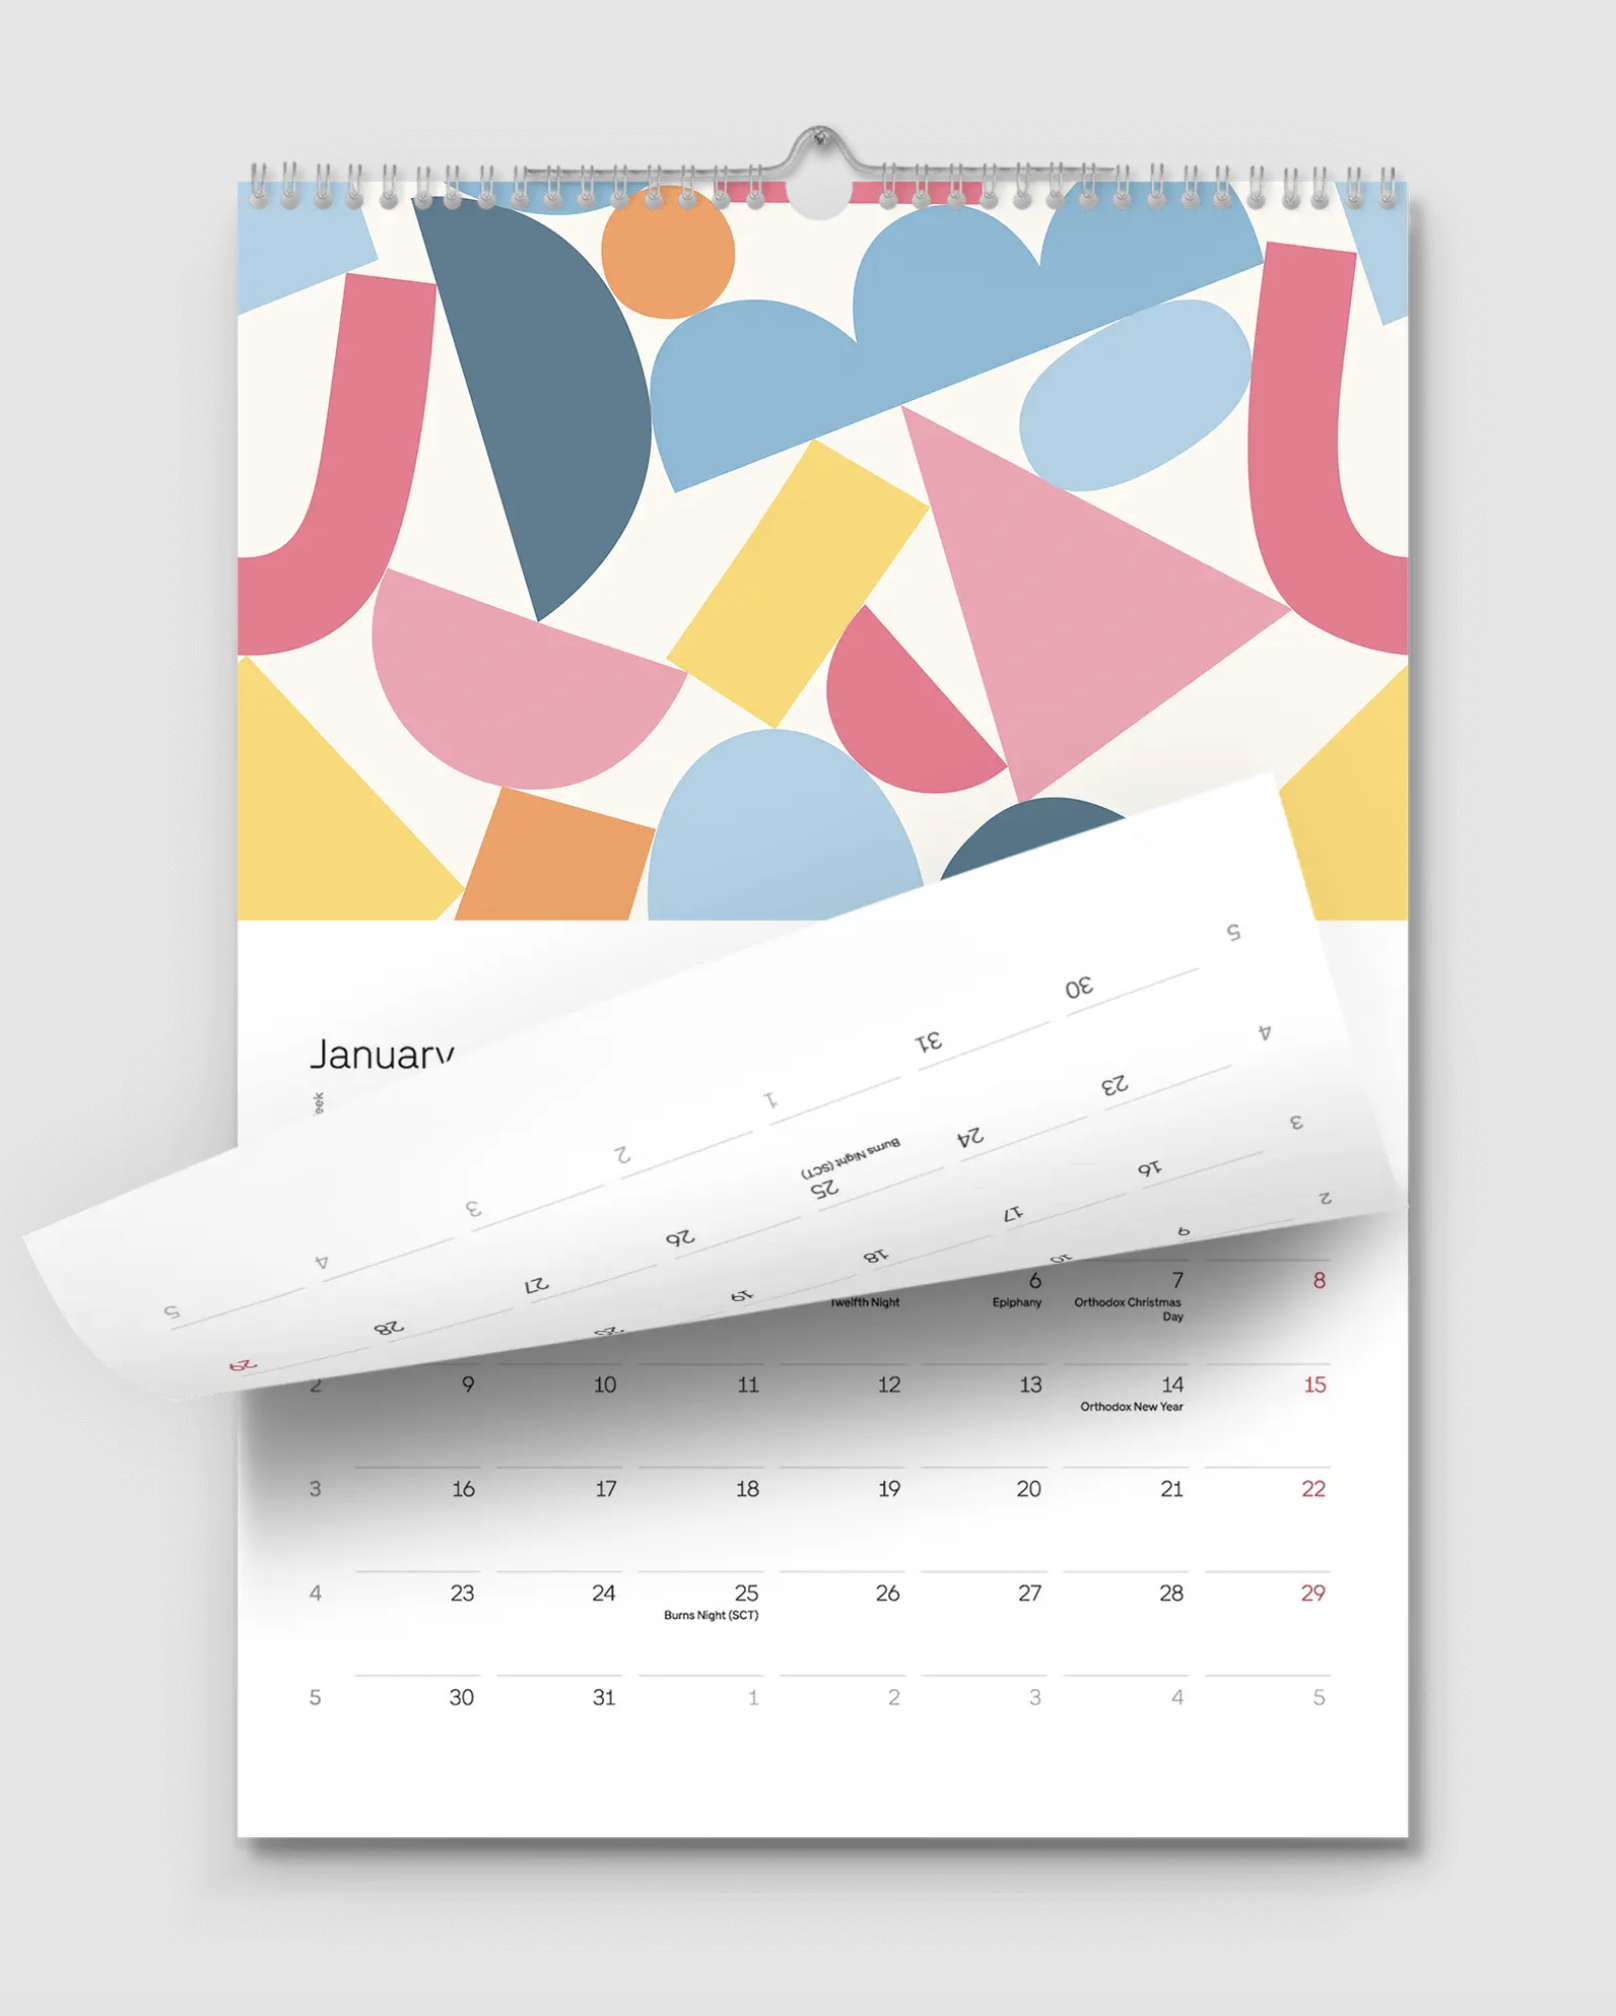
Before you draw a single thing, you need to know exactly what size you're designing for. This sounds obvious, but I can't tell you how many times I've seen artists start designing without locking in dimensions first.
I went with the standard 11" x 16.5" wall calendar size through Gelato. It's a single-page design: artwork at the top, calendar grid below on the same page. I decided the grid would take up a certain amount of space, then calculated my artwork dimensions accordingly.
For my calendar, the artwork for each monthly page is 4300 × 3333 pixels. Plenty of room for beautiful art while leaving adequate space for a functional calendar grid.
Pro tip from artists who've sold more calendars than me: Customers tend to want plenty of writing space in their grids. Design your artwork as a horizontal rectangle rather than a square so there's more room below for the calendar dates. Most people buy calendars to use them, not just look at them.💡
THE SKETCHING PROCESS (AKA: HOW I FORCED MYSELF NOT TO GET LOST IN THE DETAILS)
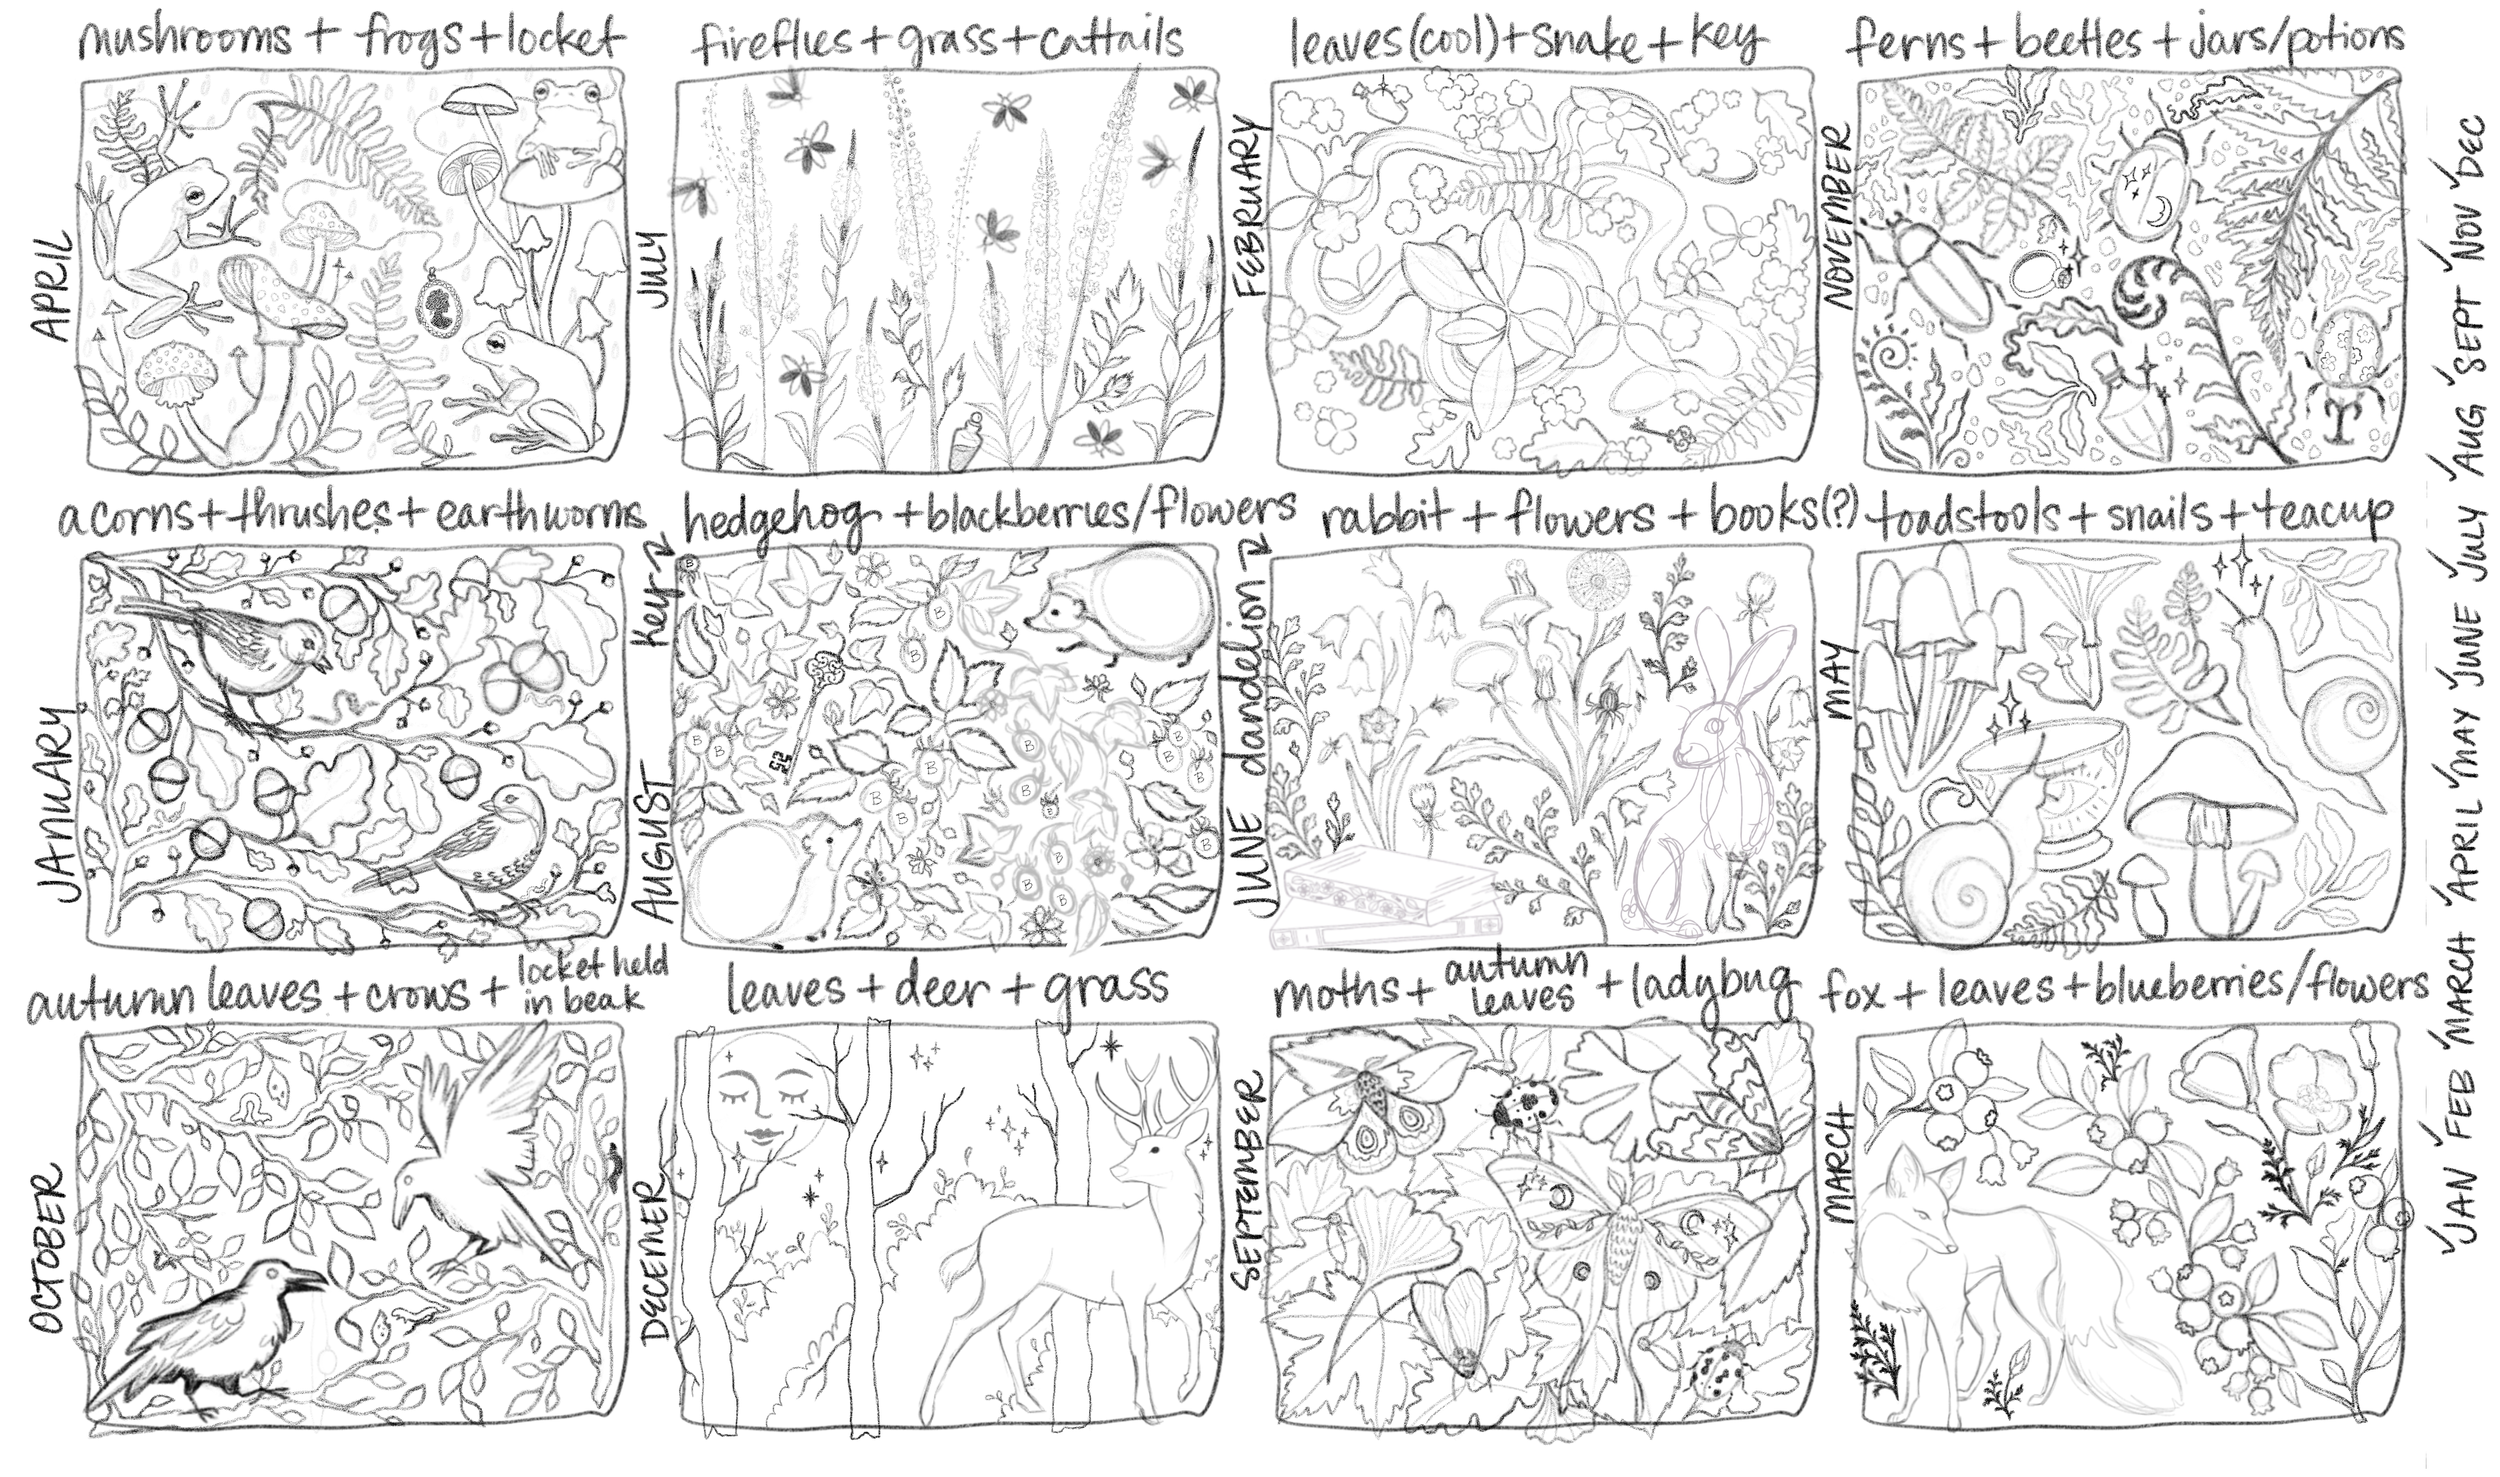
I started by drawing rough thumbnails for each month in one document. Then, on a separate layer, I created more carefully planned sketches for each month, still in that same document with a very small viewing window.
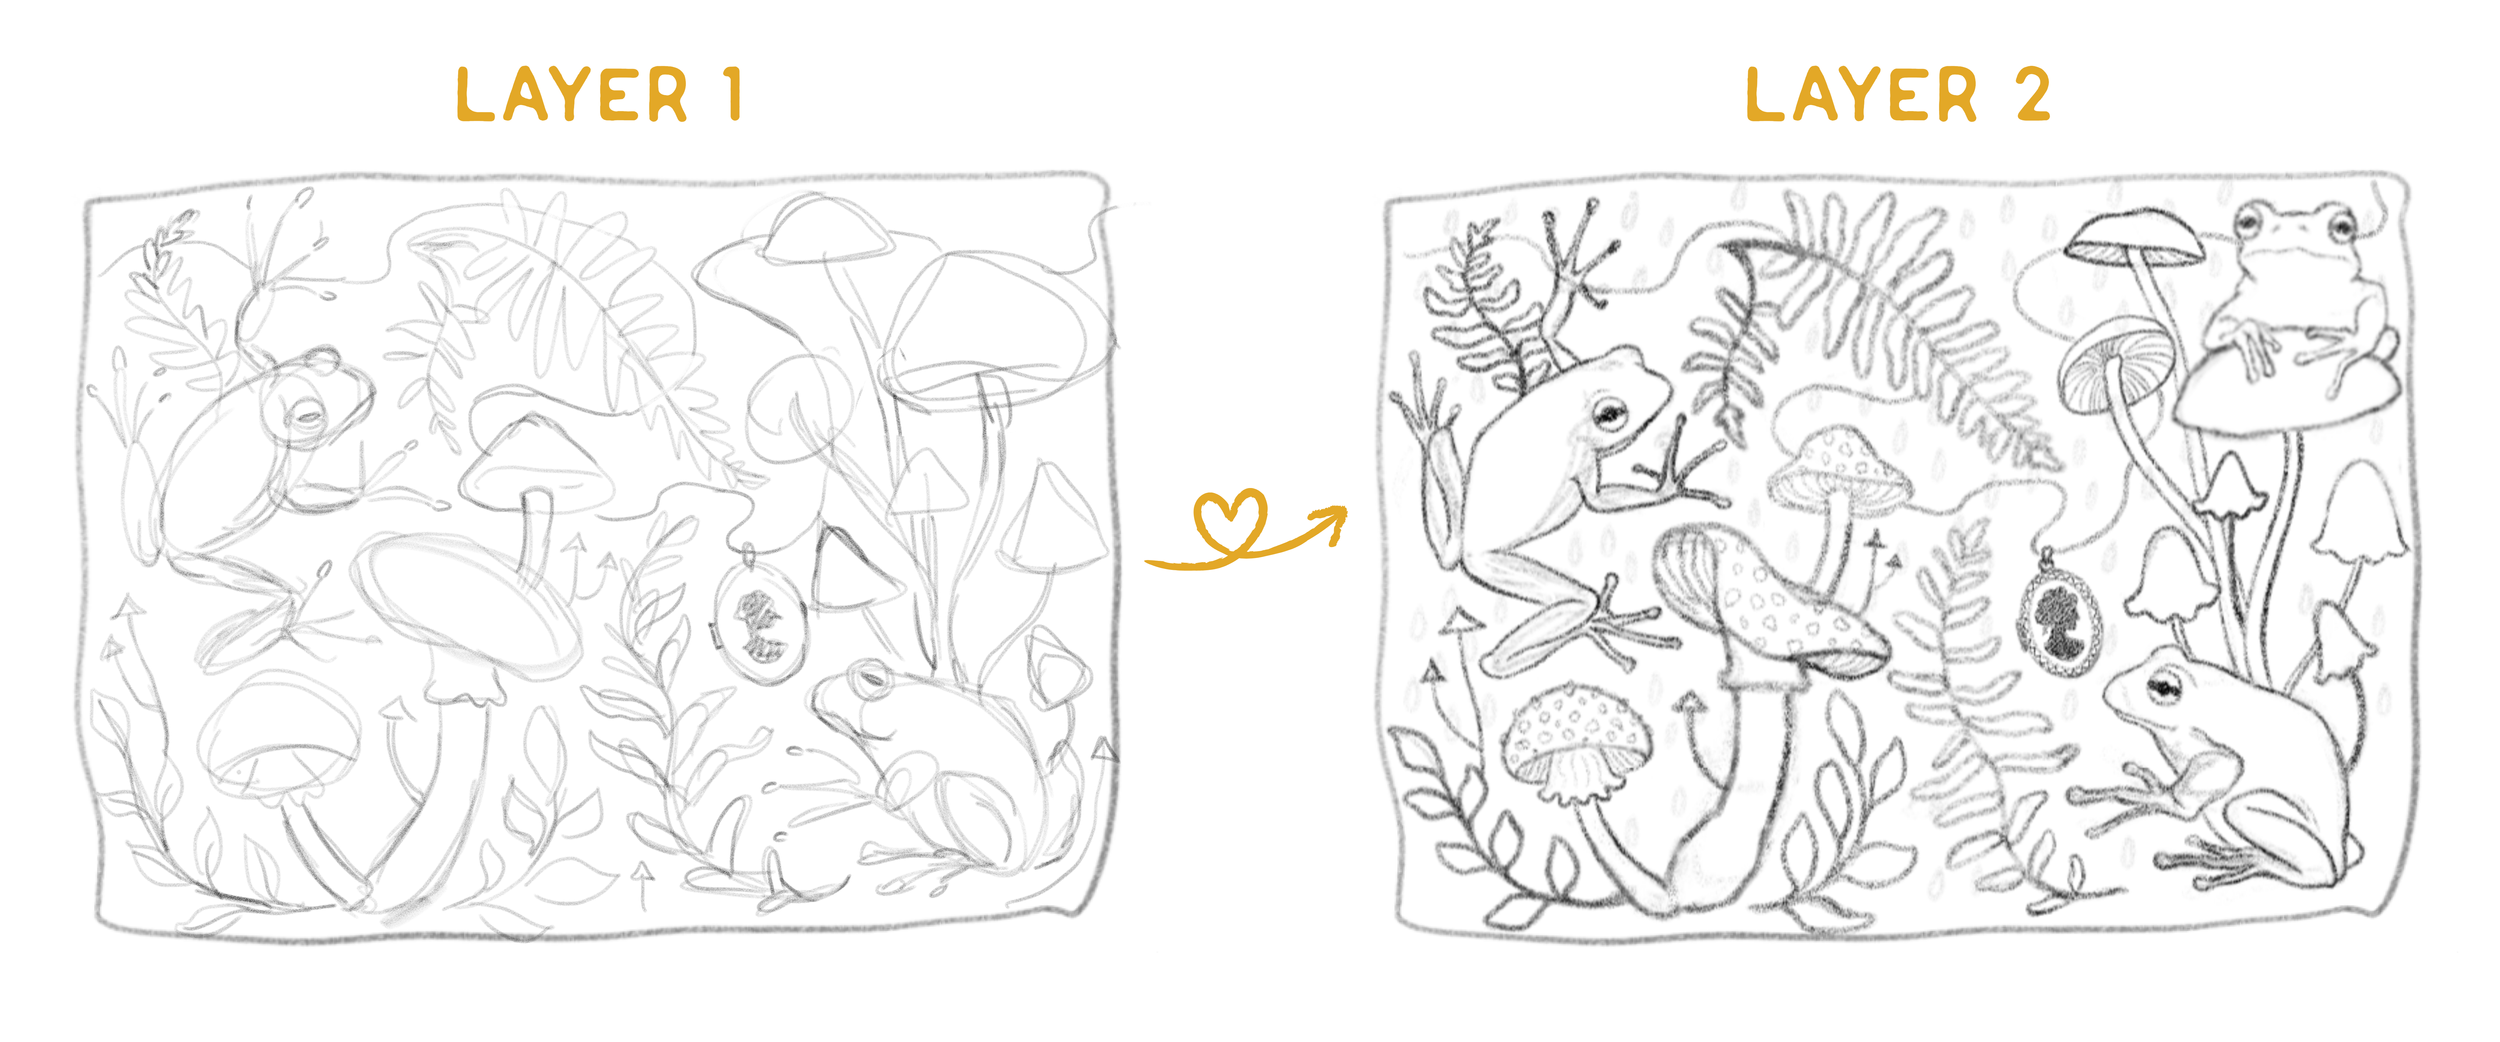
I kept everything in one small document specifically to prevent myself from getting bogged down in details. With my favorite pencil brush in Adobe Fresco, the small canvas meant I literally couldn't add much detail because there’s only so small the brush tip can become, plus when zoomed in, the pixelation was a constant reminder for me not to waste time on details. It forced me to stay loose and sketch-like.

This didn’t fully stop me from adding more detail than I needed at this point, but it helped! 😂
I know myself. I get stuck in the details constantly, and I was on a very tight timeline! 😅 Self-imposed, but still!!!
IF YOU FOLLOW MY EXAMPLE, please remember to make sure that the thumbnail size is proportional to the artwork dimensions. So my thumbnails were proportional to 4300 × 3333 pixels, but much smaller. If you don’t, you run the risk of needing to make more significant design adjustments when inking and coloring.
Note: You can use any digital drawing software, or even draw traditionally and scan everything in.
INKING, COLORING, & A LIMITED COLOR PALETTE
Once the “roughs” were done, I took each month into a fresh document at the correct final dimensions (4300 × 3333 pixels) and “inked” over the sketches to clean them up. Then came color. I chose a limited color palette for each month's design.
Quick note on limited palettes: I’ve found that one of the biggest challenges with a limited color palette is learning how to work with the values of the colors, rather than adding more hues. Try to resist adding more than 3-5 color hues altogether. You can introduce a few tints, tones, and shades (i.e. different values) of your existing colors, without sacrificing the lovely limited quality of the palette.
What matters most is that your light and dark values create good contrast, but when you're building from the same base hues, you can "stretch" your palette a bit while still keeping that cohesive, limited feel.
[Images of my final inked designs coming soon!]
UPLOADING YOUR ARTWORK TO GELATO
Signing up for Gelato is free and pretty straightforward. They do offer paid upgrades that give you discounts, but all features are available in the free version. No gatekeeping!
Once you've signed up, search "calendar," choose one of the options, and click "Create order" to access the calendar customization page. Gelato provides pre-built layouts with different month grid options, and you can drag-and-drop or import your artwork directly.
There are a few problems with that, though.
Gelato doesn't tell you the exact dimensions of those import boxes, making it tricky to design artwork to the precise size. Plus, you're limited to white or black backgrounds, and the calendar fonts and numbers are also limited to black or white.
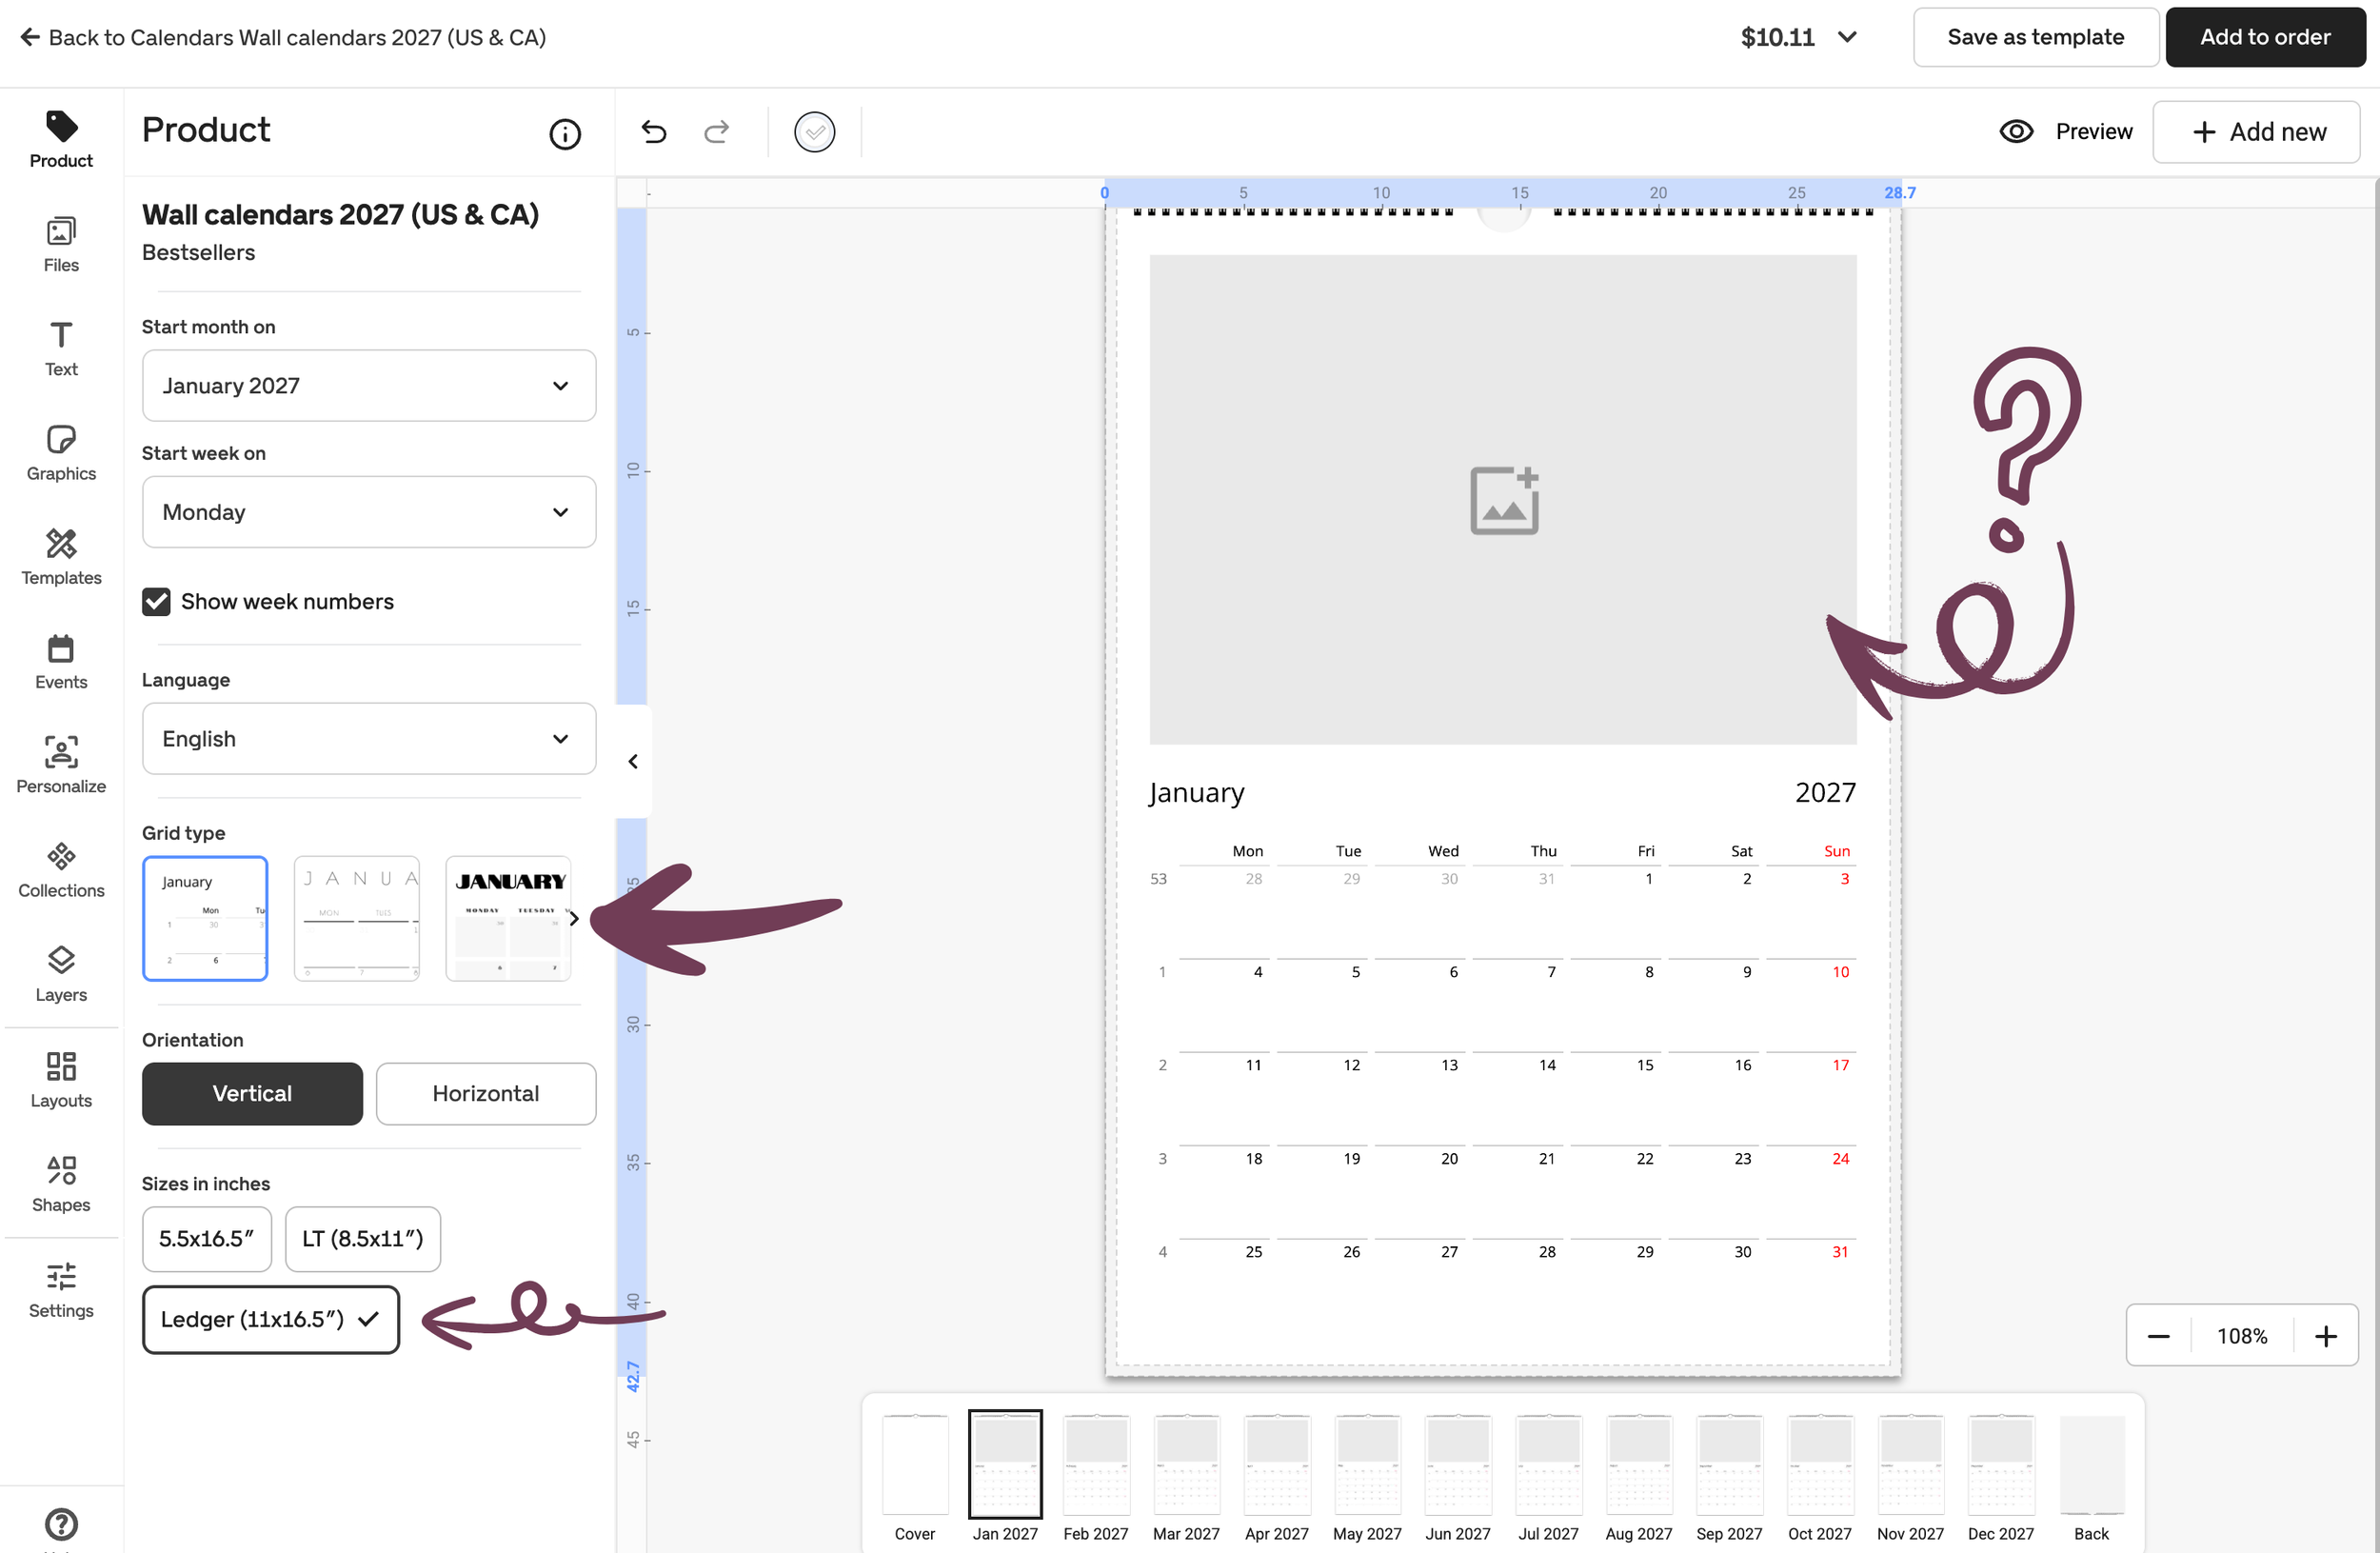
What you can do instead is delete the image box entirely. Click it and hit the trash can icon in the upper right corner, which will make an "Add new" button appear. This lets you import your artwork at whatever size you want within the layout space. Just be sure to leave enough margin around the edges for bleed.
Want more control?
Skip Gelato's built-in layouts altogether and design the entire calendar yourself in a program like Canva, Adobe Express, or InDesign. Create an 11" x 16.5" template (the full page size), decide how much space goes to art vs. grid, and design it all as one cohesive page.
Don’t forget that the cover image should be designed on an 11" x 16.5"canvas, rather than the smaller dimensions used for the monthly artwork.
DESIGNING THE CALENDAR GRID
You can build this in Canva, Adobe Express, Illustrator, Affinity, InDesign—any program you're comfortable with.
One important thing to remember is that not every month has the same number of weeks, so design a grid with six rows and seven columns, then simply delete unneeded rows for the months with only four or five weeks.
Once each month is finalized and exported as an 11" x 16.5" JPEG or PNG, you're ready to upload.
UPLOADING ALL 12 MONTHS (THE EFFICIENT WAY)
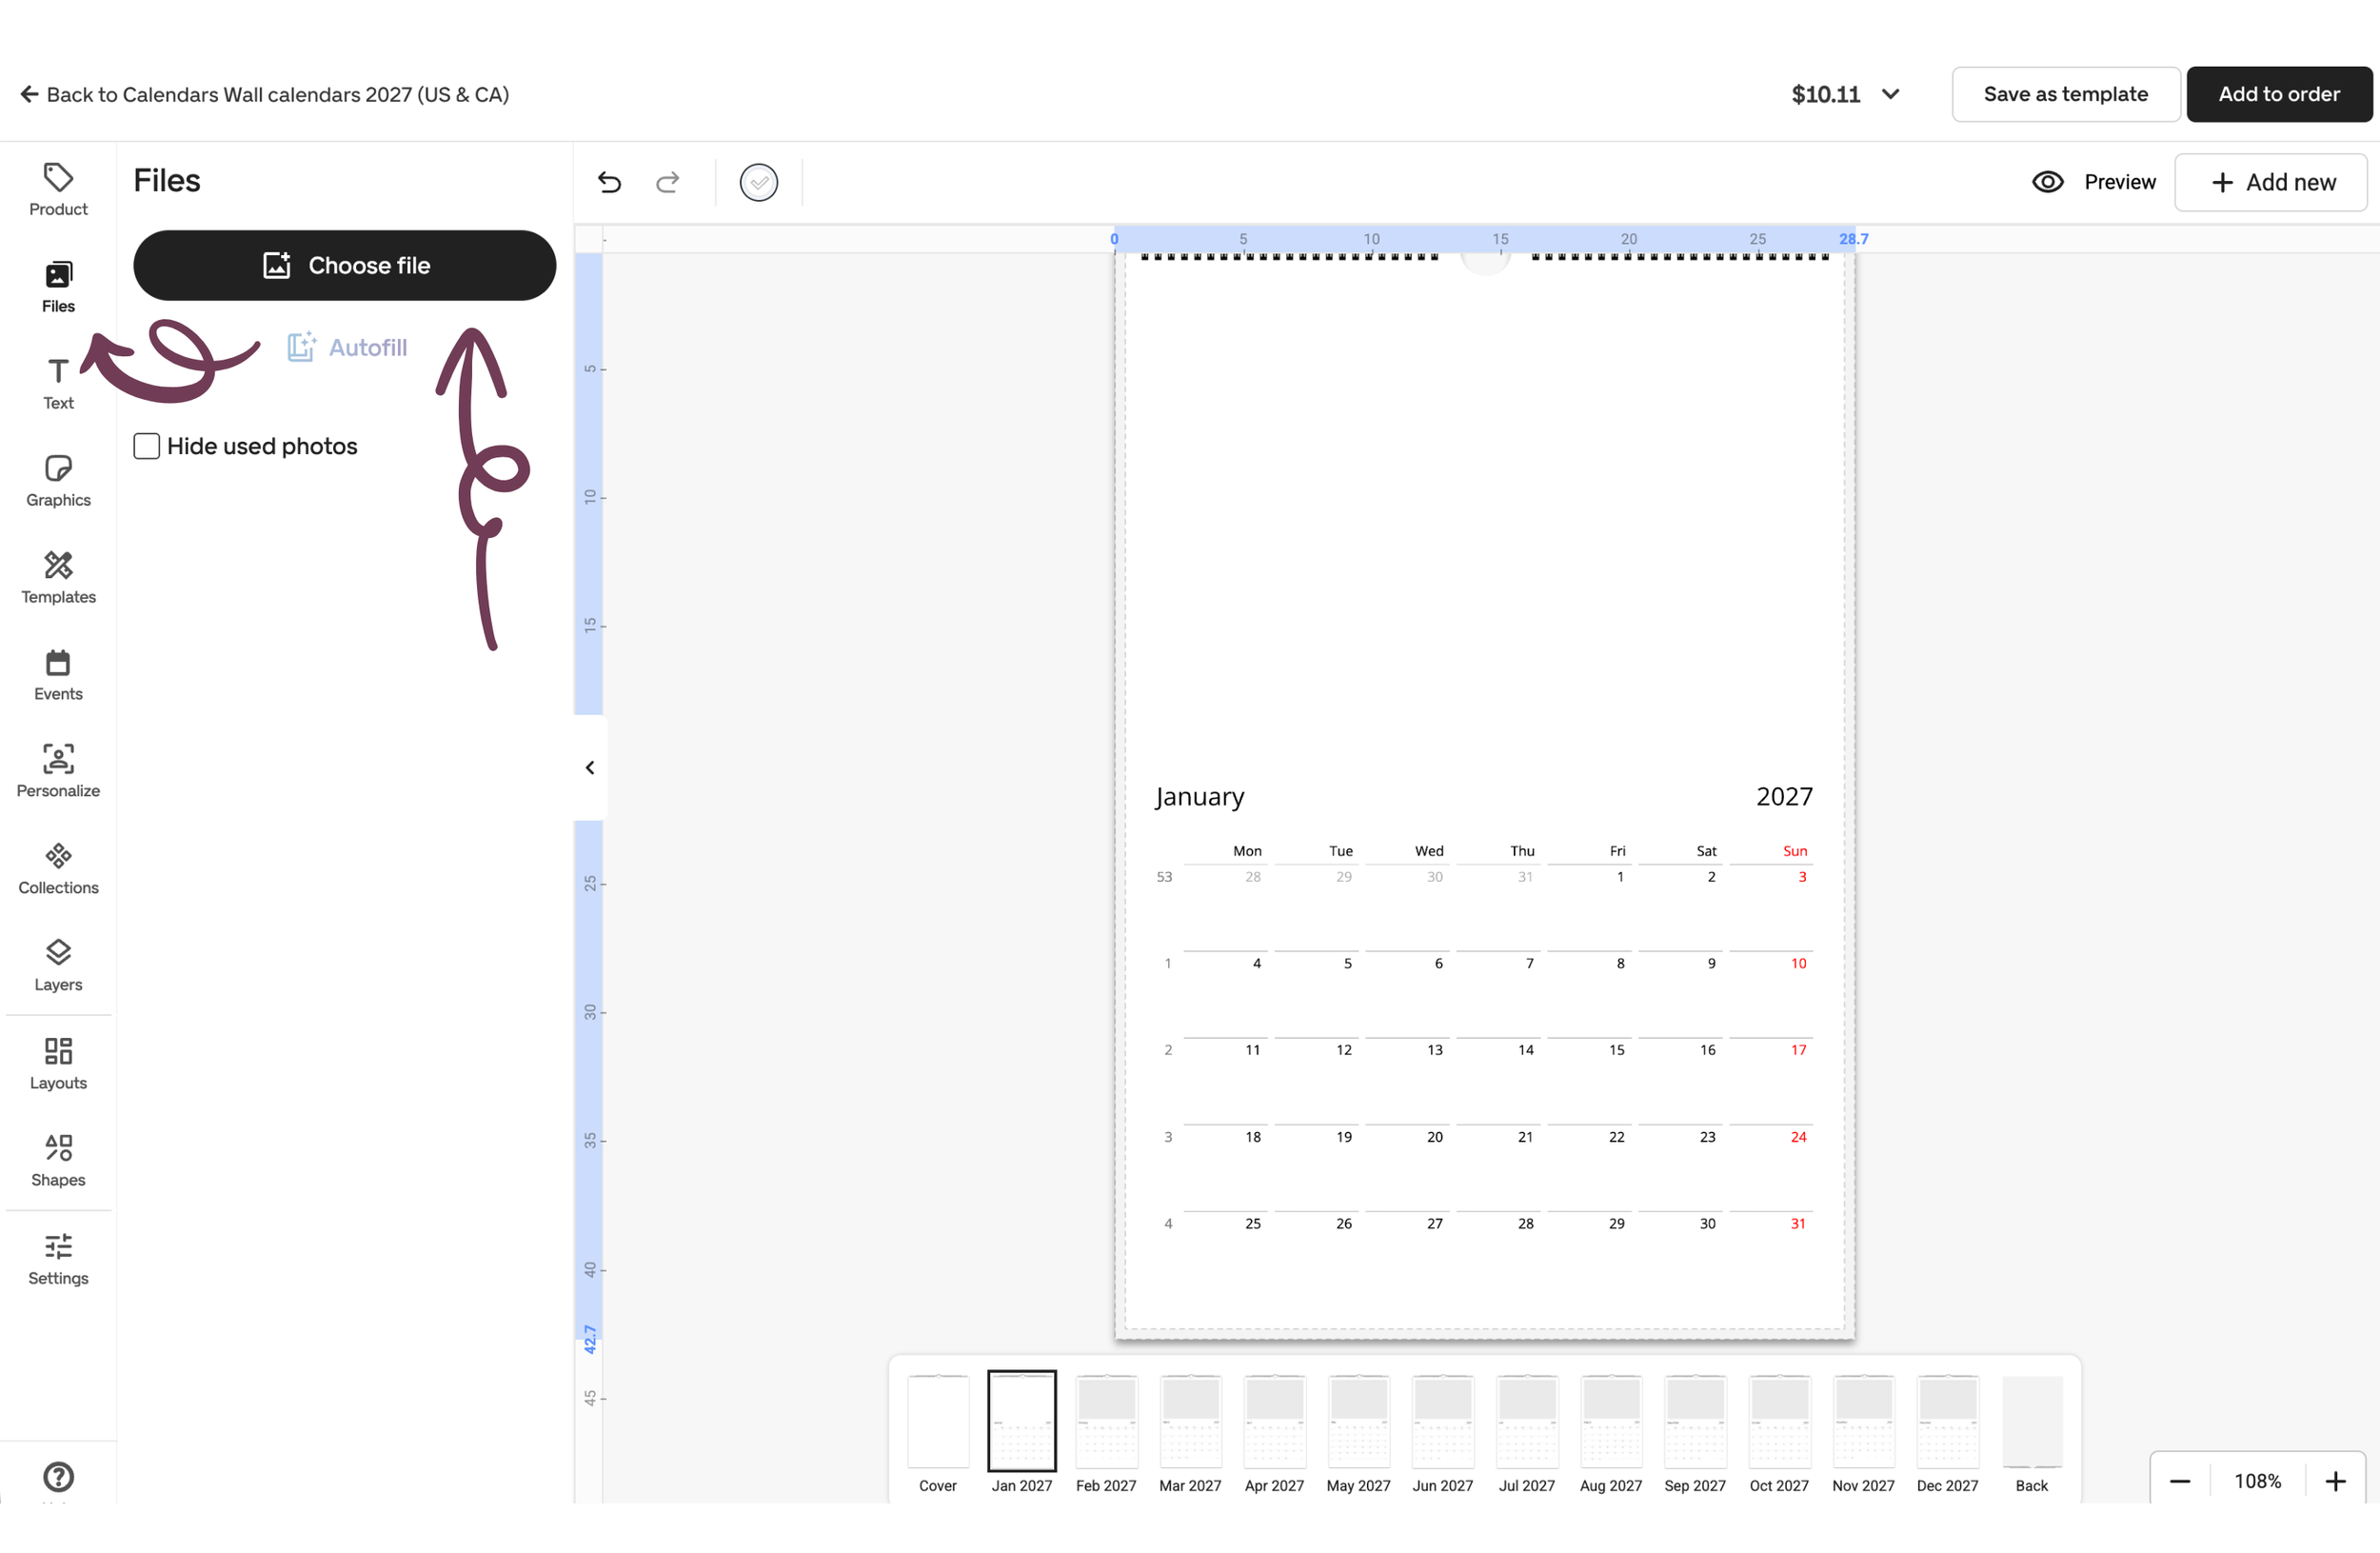
Navigate to Gelato's Files tab and click Choose file > My device. To save time, you can upload multiple files at once. I selected all 12 months plus the cover image in one go, which meant I could quickly assign each month's image instead of clicking through to upload 13 separate times.
Once uploaded, for each month, delete the default image box (trash icon in the upper right) and click "Add new." Select the corresponding month's file.
Deleting the box first ensures your JPEG imports at full page size instead of cramped into a smaller preview box. Though, if it doesn’t for whatever reason, you can always change the size so that it fits the full page.
Repeat for all 12 months, and you're done!
[More images of this process coming soon!]
WANT TO SKIP THE GRAPHIC DESIGN PART ALTOGETHER?
If calendar layout design sounds like torture to you, there's an easier, quicker path: The Studio by Liz Kohler Brown.
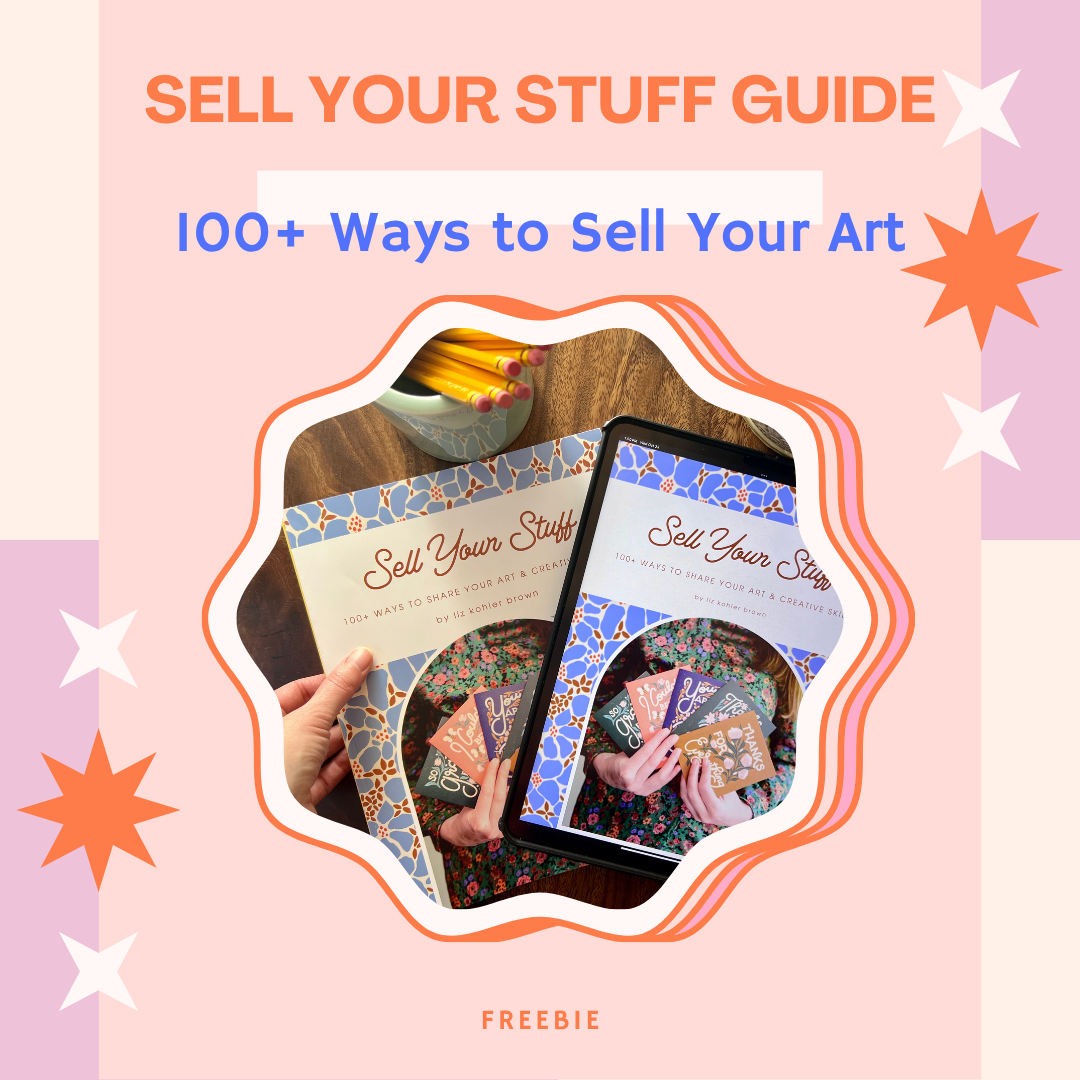
Get this awesome freebie when you join!
I've tried many creative memberships over the years, and most have been great! But in my humble opinion, none quite compare to The Studio. It's versatile, inspiring, deeply actionable, and Liz is incredibly generous with her knowledge. It's my favorite creative membership I've ever joined, and I refuse to ever leave. 😆
The Studio offers a class called Design & Sell an Illustrated Calendar that walks you through literally everything: planning > inspiration > sketching > uploading to Gelato > syncing with Shopify/Etsy/Squarespace > product photography > listing SEO optimization > and marketing.
She even updated it this year to include ready-to-customize Canva calendar templates (!!!), so you can skip the boring graphic design and jump straight to creating your art.
Liz recommends starting with 5000 x 3333 pixels OR 5000 x 2500 pixels for the art for your first calendar, and she has templates for both dimensions, plus more!
(Full transparency: I'm an affiliate, so if you join Liz’s membership through any of my links, you're supporting my work at no extra cost to you. But I'd recommend The Studio regardless!)
SYNCING GELATO TO YOUR STOREFRONT
Whether you're selling on Etsy, Shopify, or Squarespace, syncing them with Gelato is relatively straightforward.
Here's a short and sweet video demo from Gelato's YouTube channel demonstrating how easy it is:
I have mine synced to both Etsy and my personal Squarespace site, which gives me flexibility and multiple revenue streams. For example, Etsy doesn’t allow for early (password protected) access, so my newsletter subscribers will gain early access to buy my calendar on my Squarespace website a day before I activate my listing on Etsy.
AND THAT’S IT!
You've gone from concept to product. Your calendar is now live, orders are being printed and shipped, and you're making money from art you created with intention.
Pretty cool, right?
Next up: product photography, listing optimization, and marketing strategies. But that's a post for another day. (Or join Liz Kohler Brown’s The Studio and learn it all from her now!)
For now, go forth and make something beautiful. Your ideal buyer is waiting. 💖